当前位置:网站首页>Pytorch mmdetection2.0 installation training test (coco training set)
Pytorch mmdetection2.0 installation training test (coco training set)
2022-07-20 08:24:00 【Visual feast】
Abstract
I use it. google Server for colab For installation , Very convenient , open vpn You can use it for free k80 The graphics card , One member can use p100, Basically stable , It can meet the training needs . If it's your own computer, pay attention to the version of my installation package ,pytorch1.5 torchvision0.6 cuda yes 10.1 edition
install mmdetection2.0
The server comes with many installation packages , It is very convenient ,
Look at me colab The overall layout of , You should download the file to drive My Drive Can only be saved under , This downloaded thing will be attached to the cloud disk . Then start typing commands on the right
%cd drive/My\ Drive/
This step is to download mmdet To this file directory , It will be preserved forever
!git clone https://github.com/open-mmlab/mmdetection.git
The command in this line is to download in the current folder mmdet Package installed
!pip install -r requirements/build.txt
!pip install "git+https://github.com/cocodataset/cocoapi.git#subdirectory=PythonAPI"
!pip install -v -e .
Enter three lines of commands to download the corresponding package and compile , stay colab Every time you shut down and start up, you need to reinstall the compiler , No need to download again . Every time 5 About minutes , fast .
!pip install mmcv
In the download mmcv Even if the download is complete
from mmdet.apis import inference_detector, init_detector, show_result_pyplot
config = 'configs/cascade_rcnn/cascade_mask_rcnn_r101_fpn_1x_coco.py'
checkpoint = 'https://open-mmlab.s3.ap-northeast-2.amazonaws.com/mmdetection/v2.0/cascade_rcnn/cascade_rcnn_r101_fpn_1x_coco/cascade_rcnn_r101_fpn_1x_coco_20200317-0b6a2fbf.pth'
model = init_detector(config, checkpoint, device='cuda:0')
img = 'demo/demo.jpg'
result = inference_detector(model, img)
show_result_pyplot(model, img, result, score_thr=0.3)

Run the test , Just run it directly .
Modify the package with its own version , Otherwise, the test will report an error
!pip install pillow==7.1.2
!pip install -U numpy==1.17.0
Run these two lines of code each time
Training coco Training set
Modify category mmdet core evalution class_name.py
The category needs to be changed to your own
modify configs Under the _bass_ models for example cascade-rcnn

modify num_classes= Number of your own categories , You don't need to add one , My is 44 Categories , Namely 44. There are three num_classes Just modify all .
Data sets are still converted into coco Training set of , Unwanted segment part
Generate json file
import os
import cv2
import json
import xml.dom.minidom
import xml.etree.ElementTree as ET

data_dir = './data' # Root file , It includes image The folder and box Folder ( Modify this path according to your own situation )

image_file_dir = os.path.join(data_dir, 'image')
xml_file_dir = os.path.join(data_dir, 'box')

annotations_info = {
    'images': [], 'annotations': [], 'categories': []}

categories_map = {
    'holothurian': 1, 'echinus': 2, 'scallop': 3, 'starfish': 4}

for key in categories_map:
    categoriy_info = {
    "id":categories_map[key], "name":key}
    annotations_info['categories'].append(categoriy_info)

file_names = [image_file_name.split('.')[0]
              for image_file_name in os.listdir(image_file_dir)]
ann_id = 1
for i, file_name in enumerate(file_names):
    print(i)
    image_file_name = file_name + '.jpg'
    xml_file_name = file_name + '.xml'
    image_file_path = os.path.join(image_file_dir, image_file_name)
    xml_file_path = os.path.join(xml_file_dir, xml_file_name)

    image_info = dict()
    image = cv2.cvtColor(cv2.imread(image_file_path), cv2.COLOR_BGR2RGB)
    height, width, _ = image.shape
    image_info = {
    'file_name': image_file_name, 'id': i+1,
                  'height': height, 'width': width}
    annotations_info['images'].append(image_info)

    DOMTree = xml.dom.minidom.parse(xml_file_path)
    collection = DOMTree.documentElement

    names = collection.getElementsByTagName('name')
    names = [name.firstChild.data for name in names]

    xmins = collection.getElementsByTagName('xmin')
    xmins = [xmin.firstChild.data for xmin in xmins]
    ymins = collection.getElementsByTagName('ymin')
    ymins = [ymin.firstChild.data for ymin in ymins]
    xmaxs = collection.getElementsByTagName('xmax')
    xmaxs = [xmax.firstChild.data for xmax in xmaxs]
    ymaxs = collection.getElementsByTagName('ymax')
    ymaxs = [ymax.firstChild.data for ymax in ymaxs]

    object_num = len(names)

    for j in range(object_num):
        if names[j] in categories_map:
            image_id = i + 1
            x1,y1,x2,y2 = int(xmins[j]),int(ymins[j]),int(xmaxs[j]),int(ymaxs[j])
            x1,y1,x2,y2 = x1 - 1,y1 - 1,x2 - 1,y2 - 1

            if x2 == width:
                x2 -= 1
            if y2 == height:
                y2 -= 1

            x,y = x1,y1
            w,h = x2 - x1 + 1,y2 - y1 + 1
            category_id = categories_map[names[j]]
            area = w * h
            annotation_info = {
    "id": ann_id, "image_id":image_id, "bbox":[x, y, w, h], "category_id": category_id, "area": area,"iscrowd": 0}
            annotations_info['annotations'].append(annotation_info)
            ann_id += 1

with  open('./data/annotations.json', 'w')  as f:
    json.dump(annotations_info, f, indent=4)

print('--- Sorted annotation file ---')
print(' Number of all pictures :',  len(annotations_info['images']))
print(' Number of all indications :',  len(annotations_info['annotations']))
print(' Number of all categories :',  len(annotations_info['categories']))
modify mmdet datasets coco.py file

The with seg Part of the code line is commented out
modify mmdet core evaluation class_name.py file

Change this code into your own category

The data is placed as follows , there custom You can change it to coco There is no need to modify the code that loads the data
!python tools/train.py configs/cascade_rcnn/cascade_rcnn_r50_fpn_1x_coco.py --gpus 1
The running code is almost the same ,
!python tools/test.py configs/cascade_rcnn/cascade_rcnn_r50_fpn_1x_coco.py checkpoints/grid.pth --eval bbox
The evaluation command here is coco Evaluation command of training set , Follow voc Different .
colab Use 
Here is entering the cloud disk , It is convenient to upload your own data here 
Here to mmdetection Next, you can right-click to upload data . Only 15 individual g You can open another member to expand memory .
summary
Use colab The server is very convenient . At least it can be installed very quickly mmdet Use . The package inside may be too old and too new , All need debugging . Download the package quickly . I'm here, too colab Trained in efficientdet The Internet .
边栏推荐
- Introduction to pytoch target classification competition
- Esp32 -- implement email sending function
- 常见网络厂商Mib库文件
- Basic use of JWT (JSON web token)
- 牛客剑指offer 机器人的运动范围
- 那些年微信支付踩过的坑
- 数据的表示和运算
- Android解决数据库注入漏洞风险
- When submitting, it shows that no matching host key type can be found.
- Esp8266 -- temperature and humidity monitoring code dht-11 (web page display)
猜你喜欢

牛客剑指offer 机器人的运动范围

MySQL data specifies the field name and field remarks of the data table through SQL query

pytorch 目标检测 coco API 讲解 数据生成

Yolo series target detection data set

C程序中的函数递归

堆堆排序及堆的相关操作

第五十八篇:VS调试出现“覆盖。。。。是/N:否/A:全部)??”
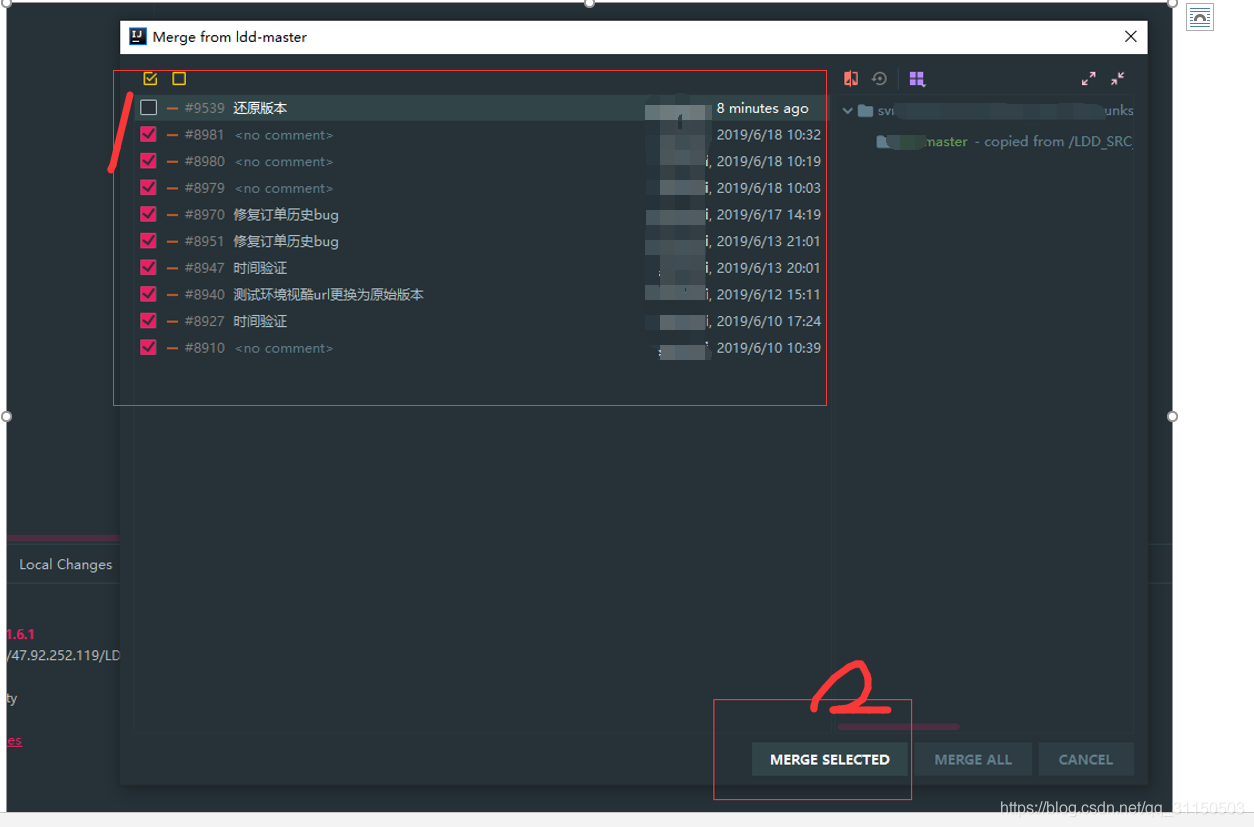
idea svn主干合并分支版本Missing ranges异常Error:svn: E195016

巩固复习之指向函数指针数组的指针、回调函数

MySQL ten million level sub table optimization
随机推荐
仿联系人的排序
地址栏输入www.baidu.com之后
2021 underwater acoustic target detection summary -rank2
YOLOv5飛鳥檢測
Openwrt manually installs the netdata plug-in
那些年微信支付踩过的坑
yolov3的GUI界面(3)--解决out of memory问题,新增摄像头检测功能
堆堆排序及堆的相关操作
Yolov5 realizes smoking behavior detection
idea svn主干合并分支版本Missing ranges异常Error:svn: E195016
第五十九篇:main.c:62:9: note: use option -std=c99 or -std=gnu99 to compile your code
Yolov5 apple banana detection
Mysql千万级别水平分表优化
剑指offer 序列化二叉树
SSM notes
yolov3的GUI界面(简易,图片检测)
pytorch 使用免费gpu测试训练(aistudio)yolov4为例
第六十四篇:error LNK2019: 无法解析的外部符号 cvRound
基于STM32F030的ADC功能实现
Obsidian compiles third-party plug-ins